Italiano / English
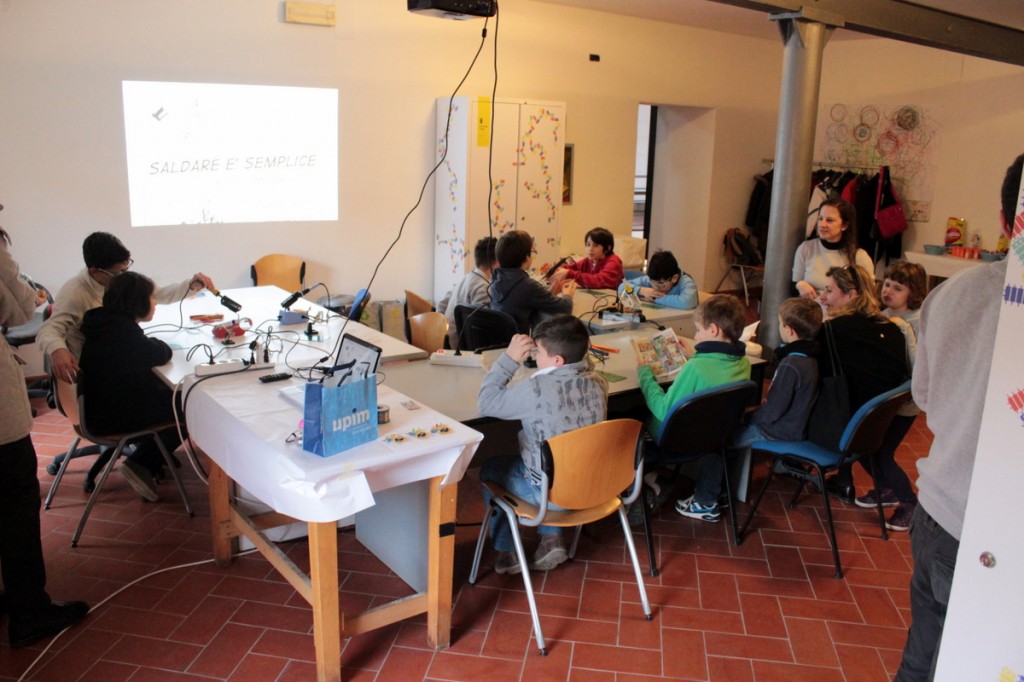
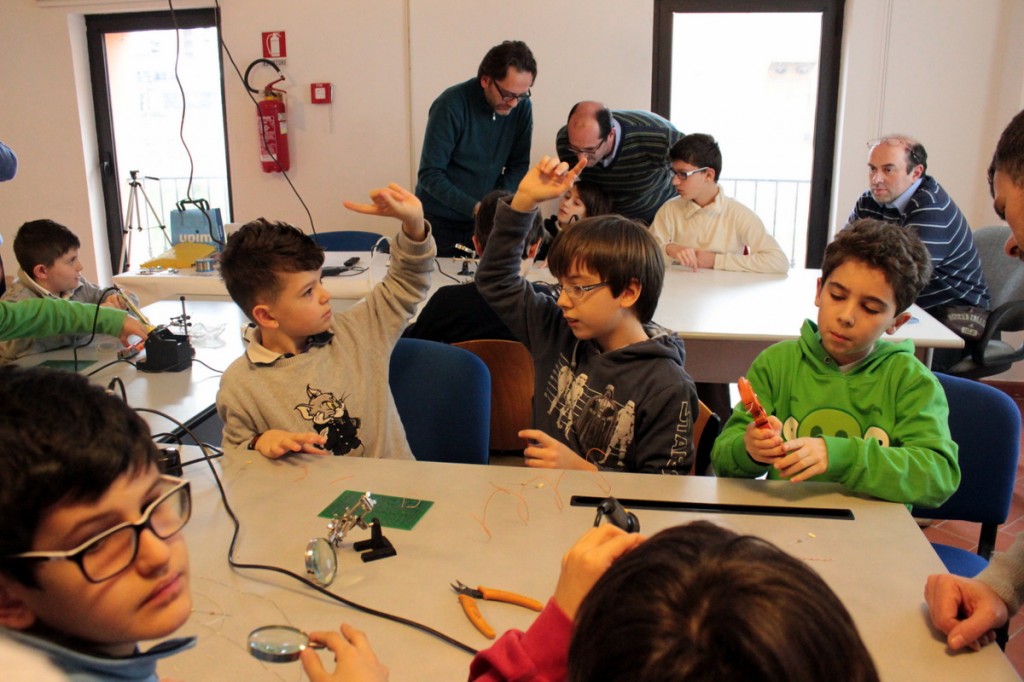
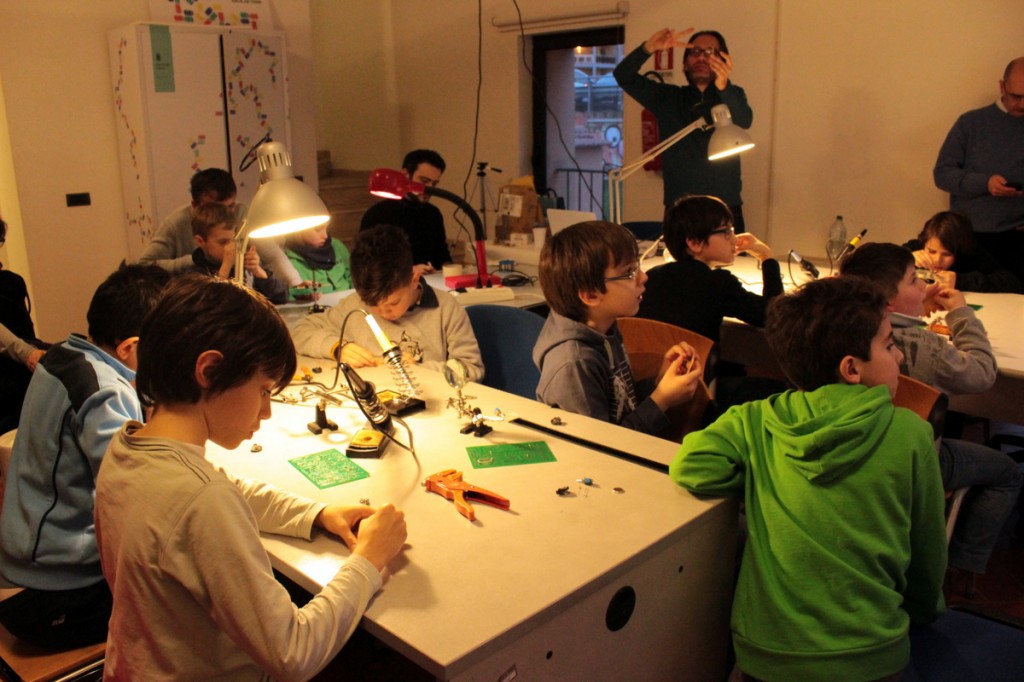
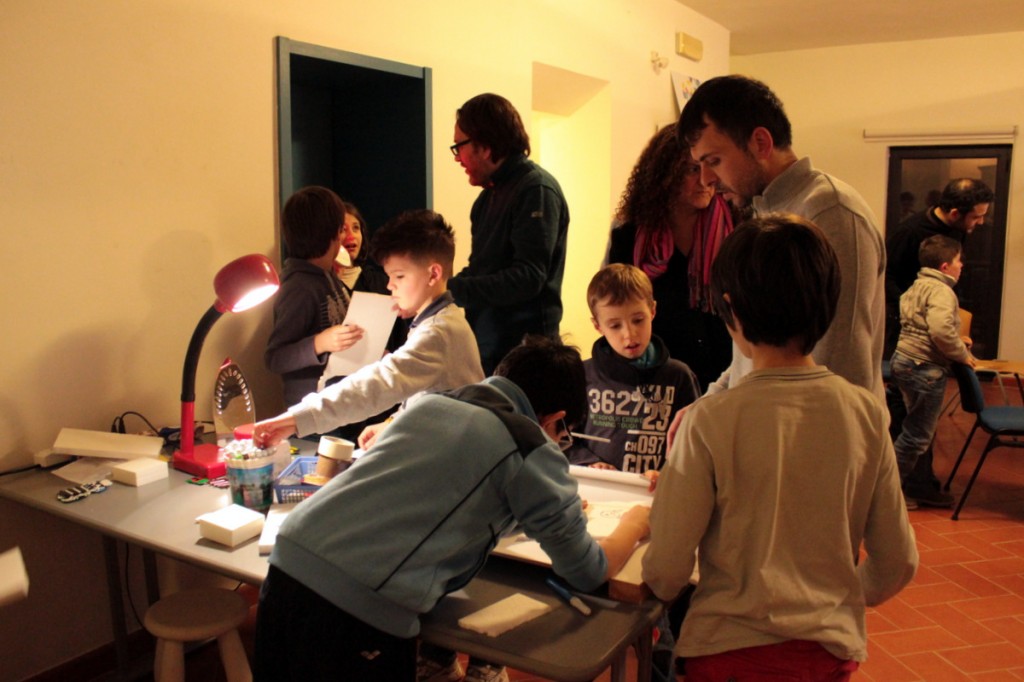
Undici ragazzi/e hanno partecipato ieri al primo MakerDojo organizzato dalla nostra associazione, alla sede del CAOS.
Eleven boys / girls attended yesterday the first MakerDojo organized by our association, at CAOS.
Il nome “MakerDojo” non è di nostra invenzione ma lo abbiamo sentito per la prima volta alla Maker Faire Rome.
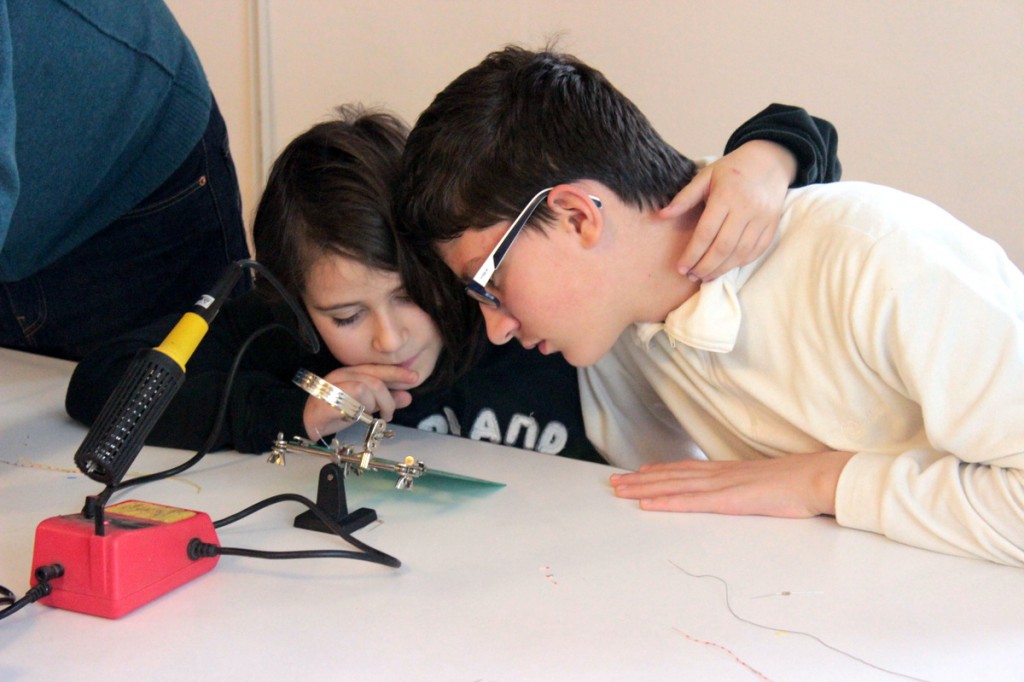
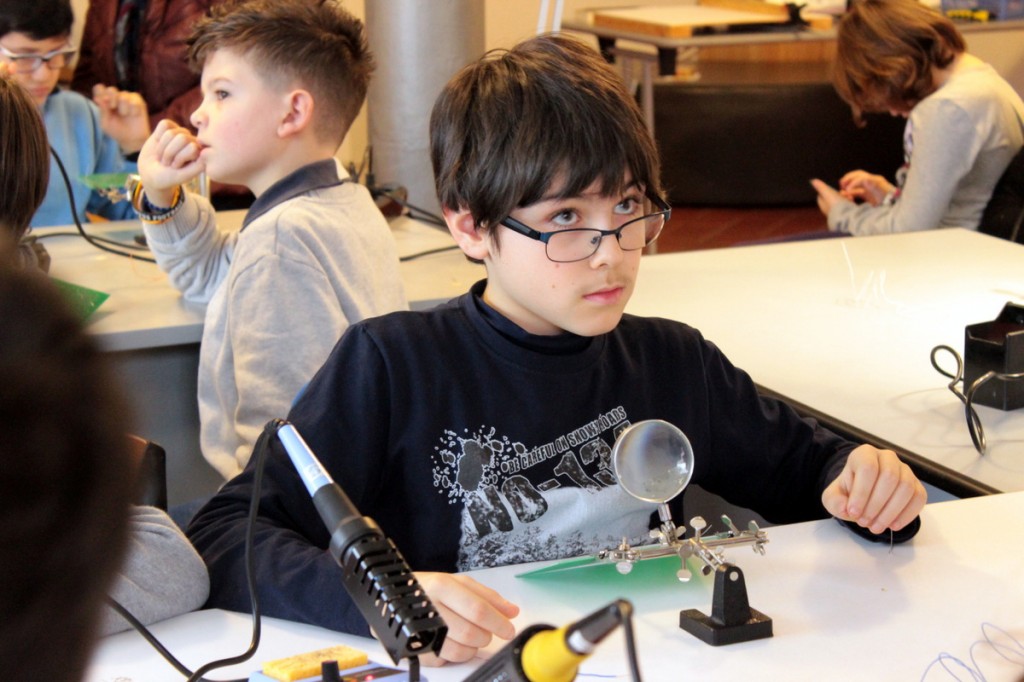
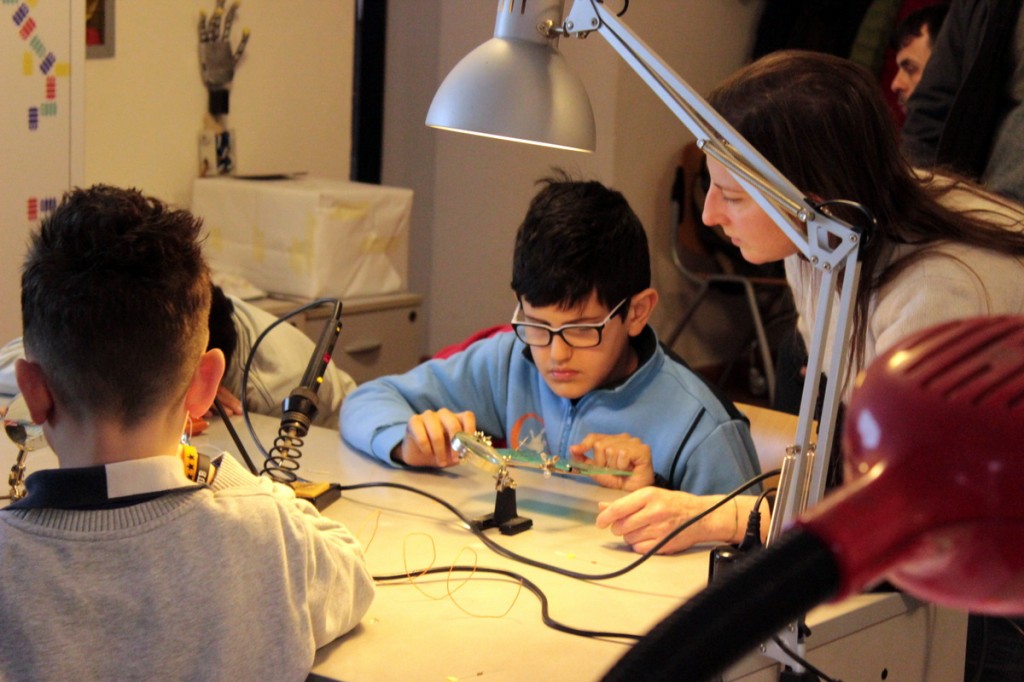
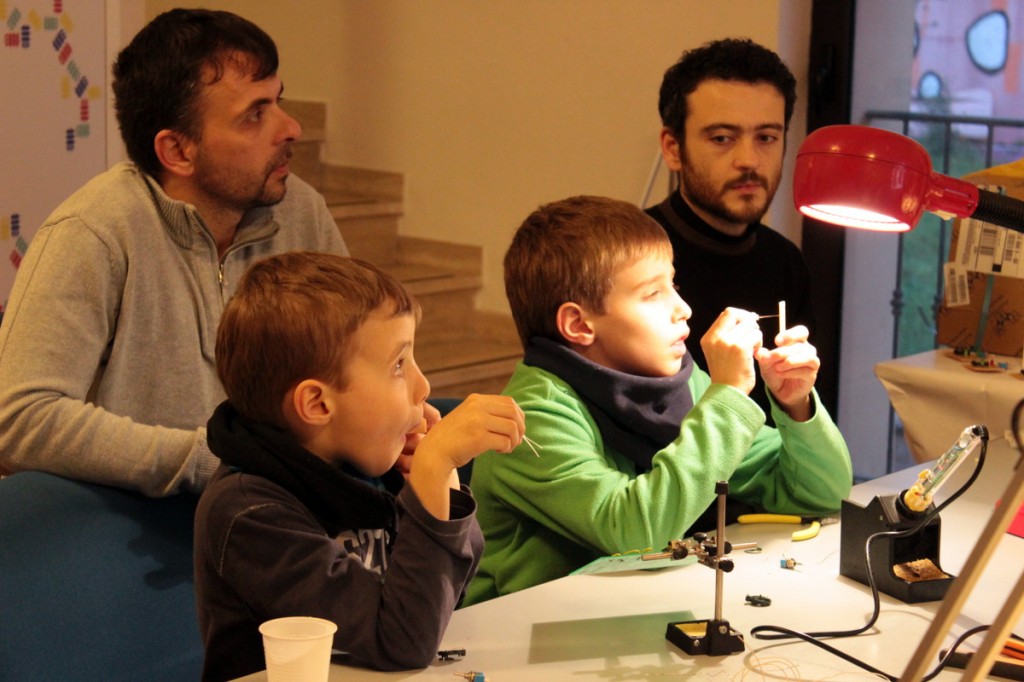
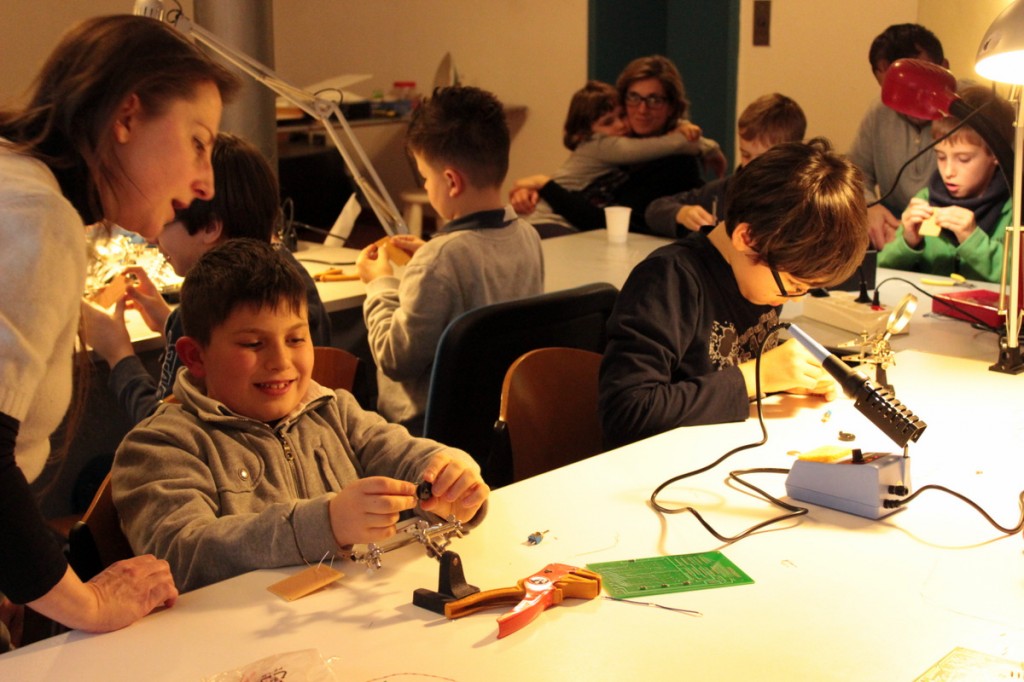
Questa volta il tema era la saldatura. Ogni mentor ha portato un saldatore in modo che non ci fossero saldatori senza un adulto supervisore. I ragazzi hanno fatto a turno ad utilizzare il saldatore, a coppie.
Siamo partiti con una breve spiegazione teorica, utilizzando questo fumetto, del guru di Noisebridge, Mitch Altman, tradotto da Michele Maffucci.
Quindi i ragazzi si sono esercitati con le prime saldature di fili singoli e utilizzando delle schede di circuiti stampati riciclate. Le schede non avevano componenti già montati per cui sono risultate molto utili per iniziare a saldare qualche resistenza e capire come si fa.
I ragazzi erano molto soddisfatti e si stupivano di quanto la saldatura risultasse forte, una volta fredda.
Dopo una breve pausa-spuntino, offerto dall’hacklab, ognuno si è dedicato alla realizzazione di un piccolo progetto:
The name “MakerDojo” it is not our invention but we heard it for the first time at Maker Faire Rome.
This time the theme was soldering. Each mentor brought a solder iron so that each solder iron was supervised by an adult. The boys worked in pairs and used the solder iron in turns.
We started with a brief theoretical explanation using this comic by the guru of Noisebridge, Mitch Altman, translated by Michele Maffucci.
After that, the kids practiced with the first soldering of single wires and then used some recycled printed circuit boards. The boards had not any assembled components on them: they were very useful to begin soldering some resistances and figure out how to do it.
The kids were very pleased and amazed at how strong the soldering was, once cold.
After a short snack-break, offered by hacklab, everyone started working at the realization of a little project:
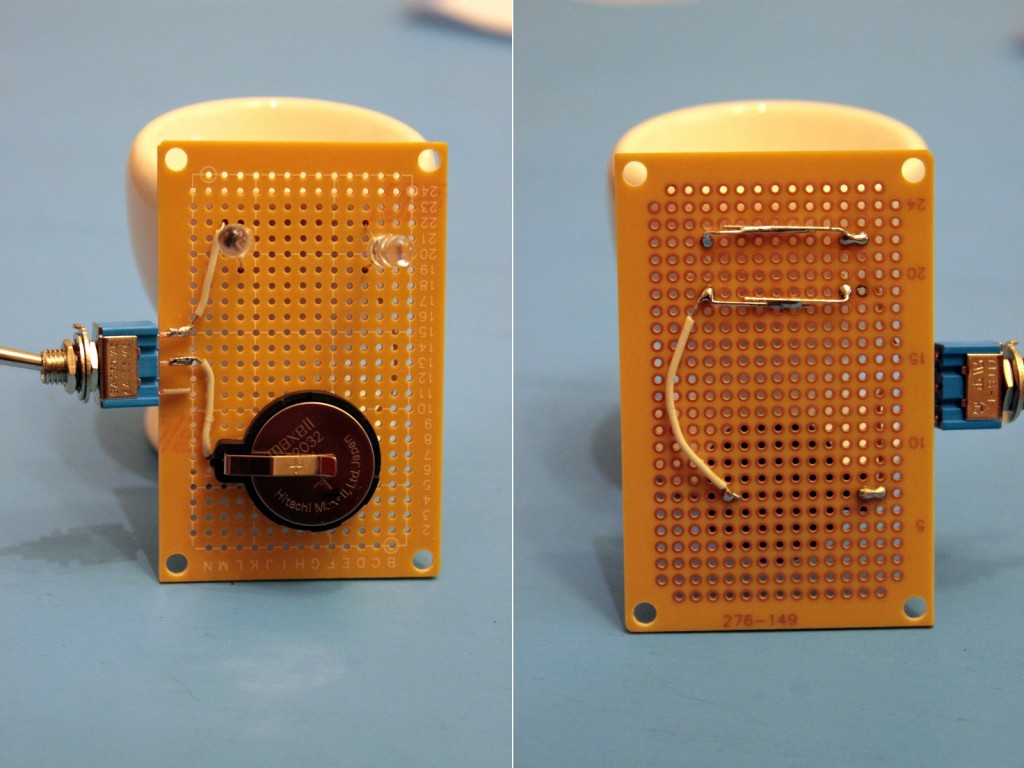
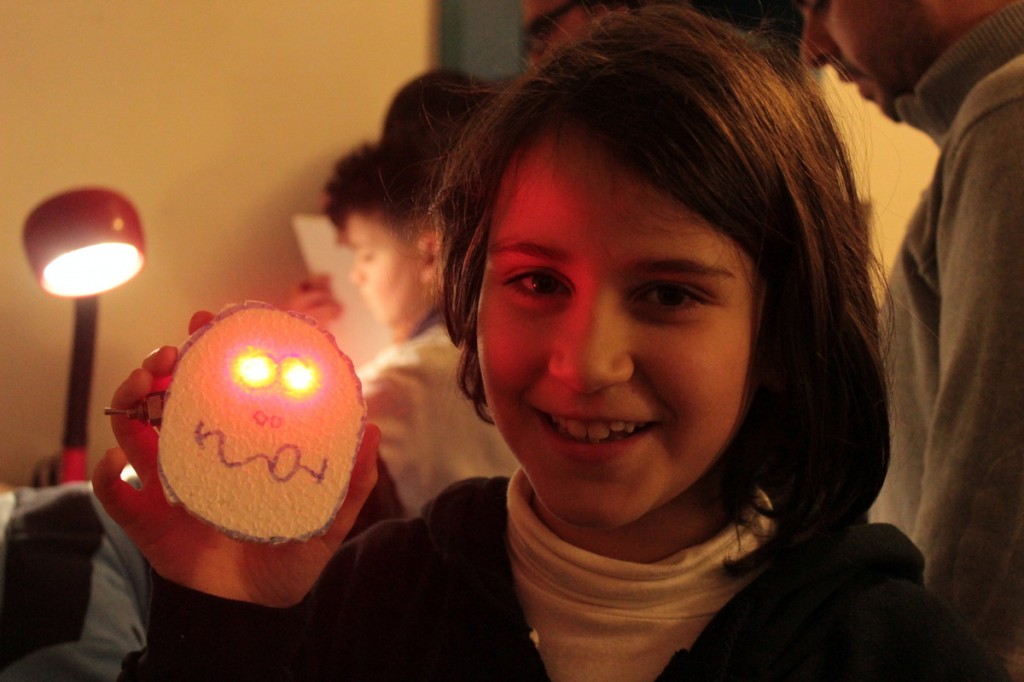
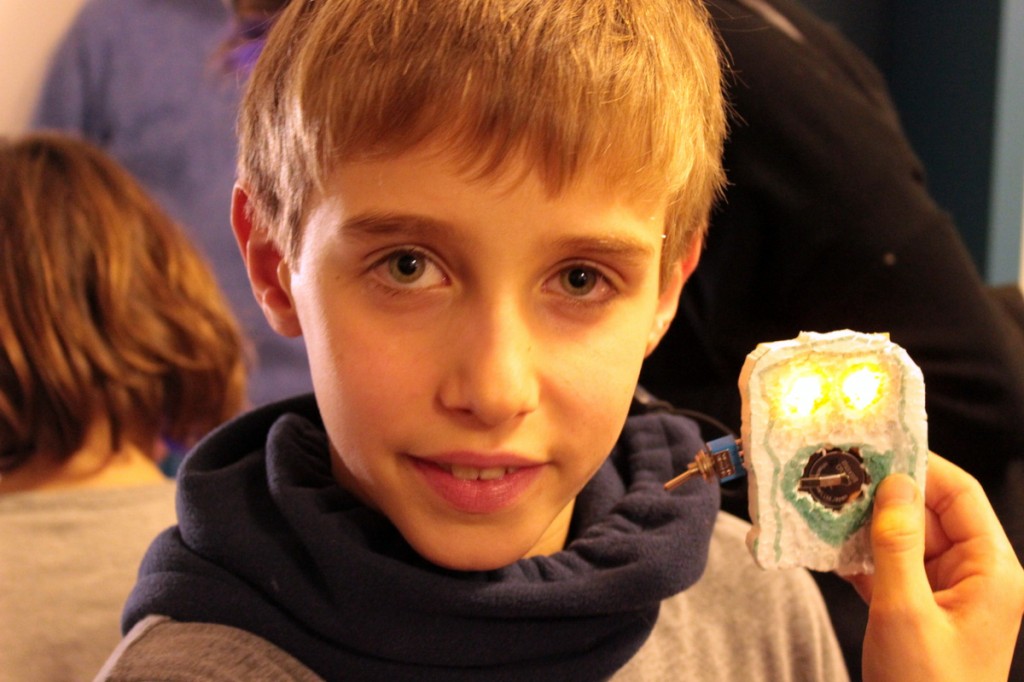
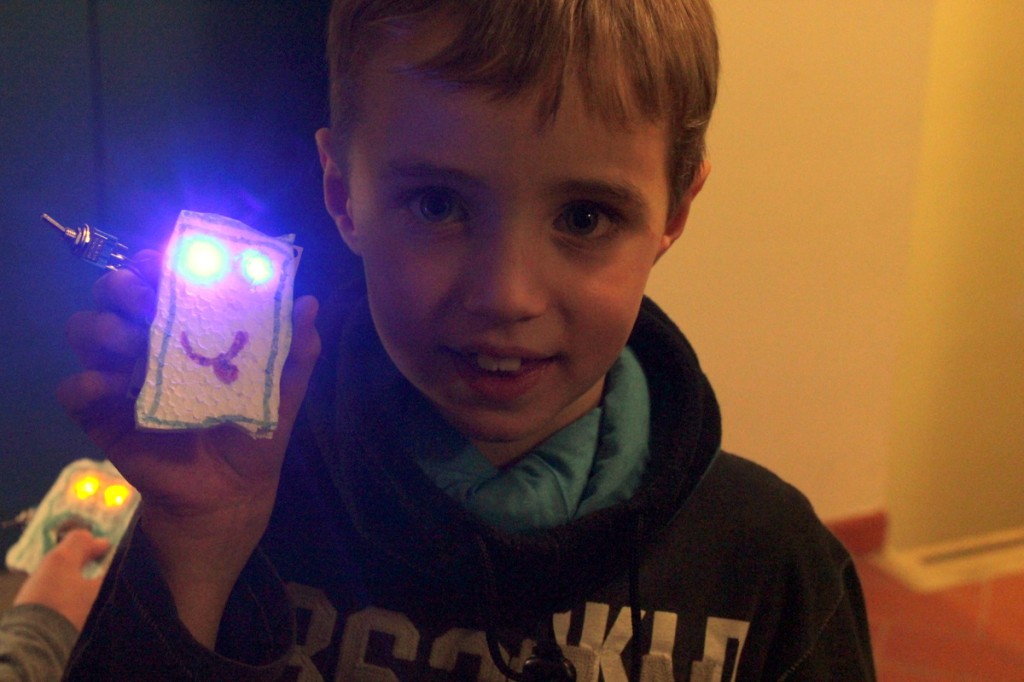
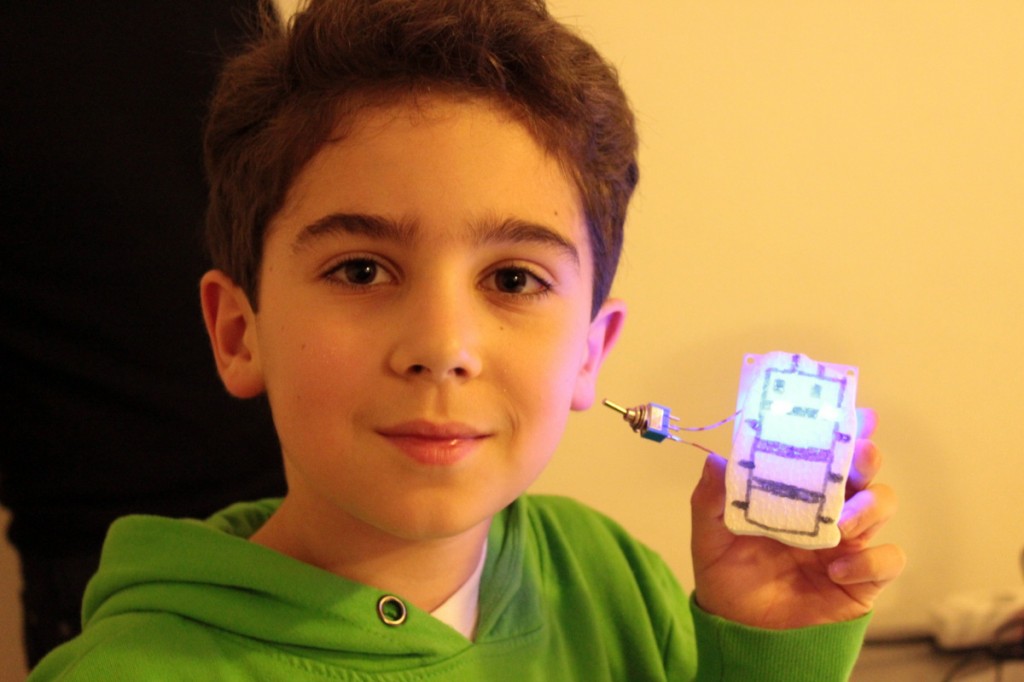
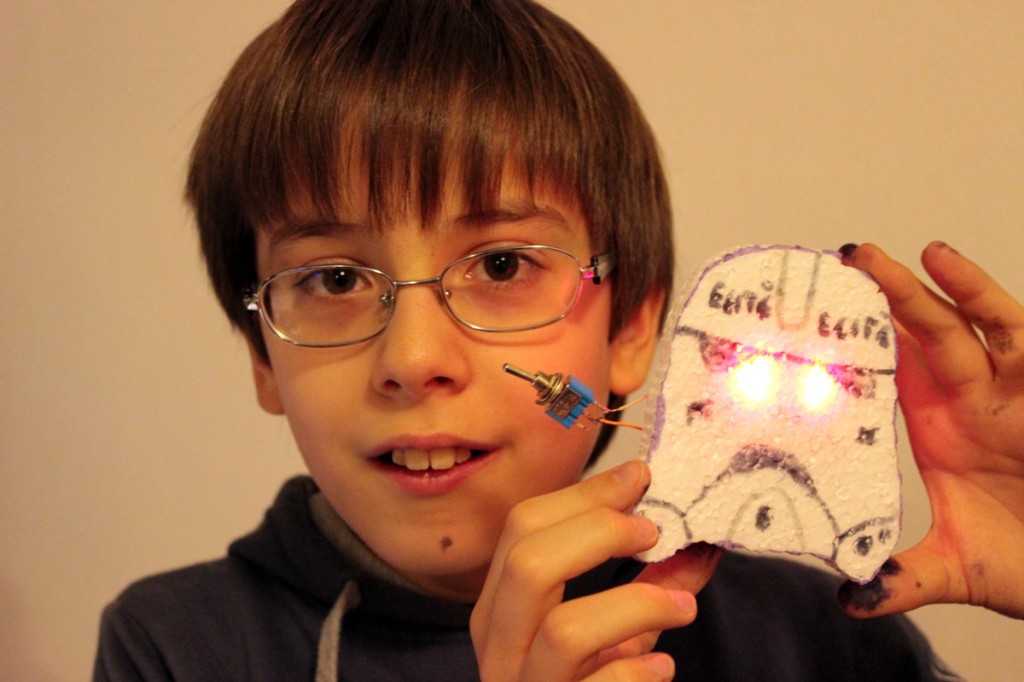
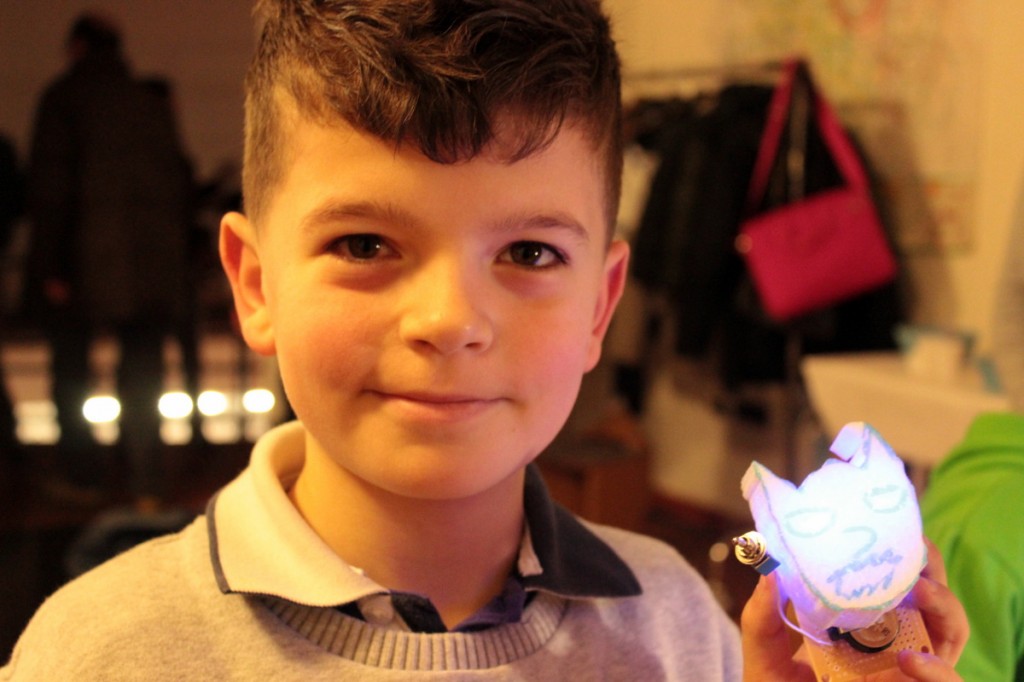
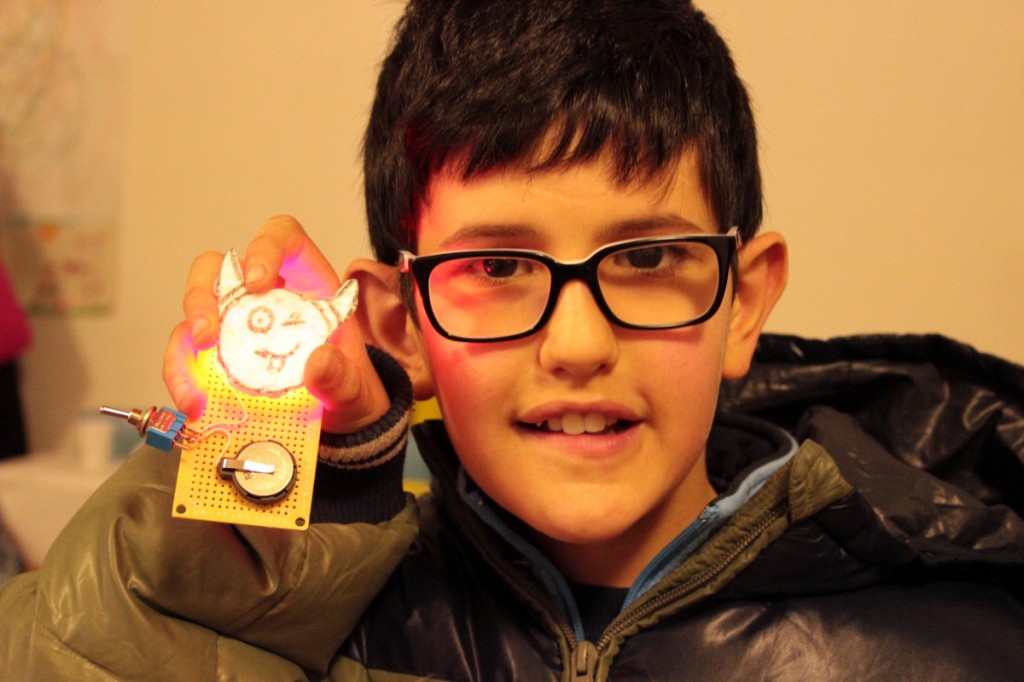
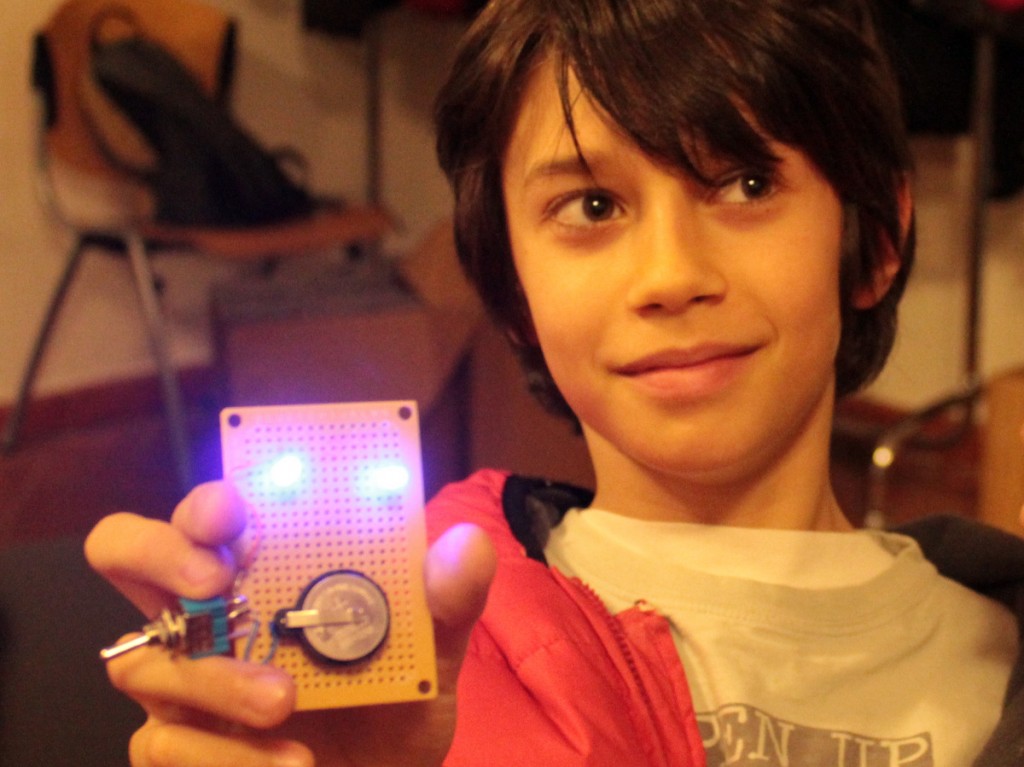
si tratta di due LED, un interruttore ed una pila da 3V, con apposito portapila, montati su una basetta millefori.
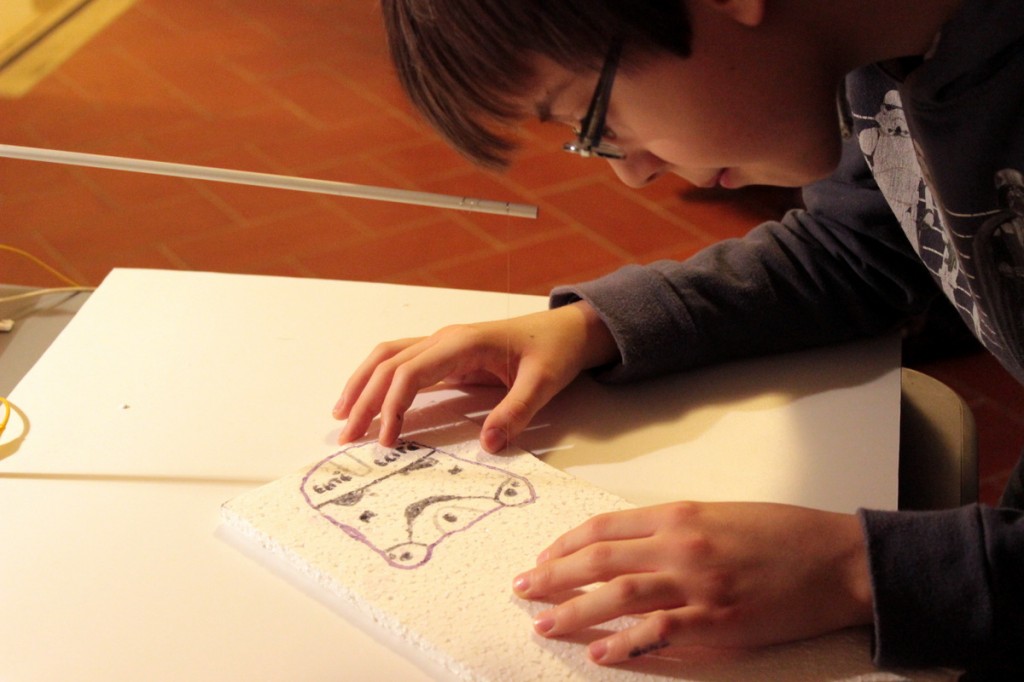
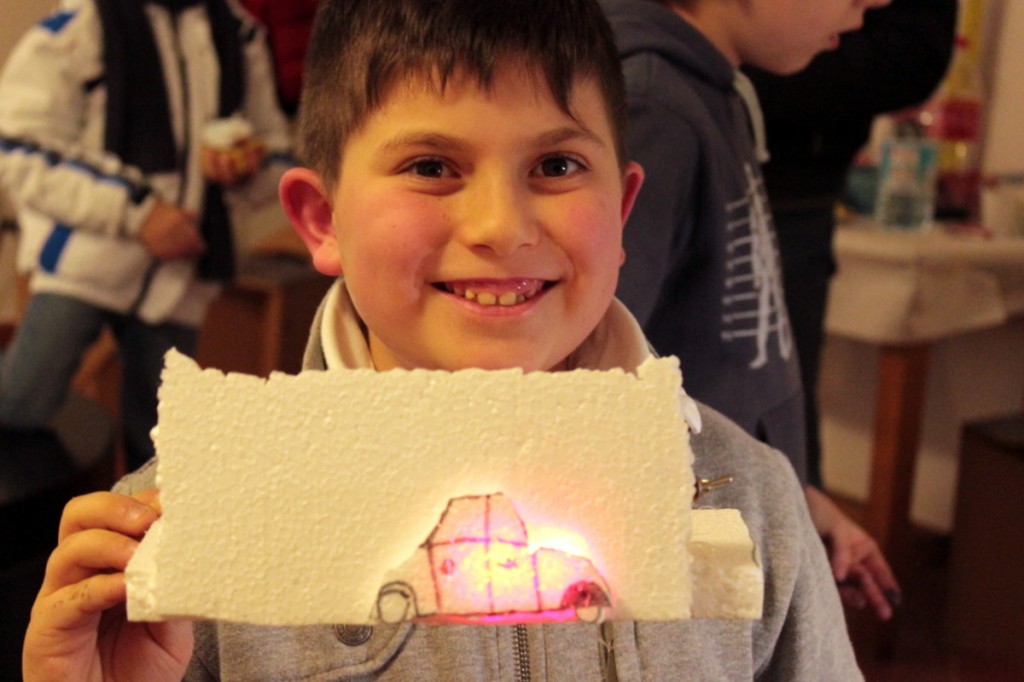
Tutti hanno eseguito il proprio circuito per poi applicarci una forma di polistirolo ritagliato per dare vita ai due occhietti luminosi. Per ritagliare il polistirolo i ragazzi hanno usato il filo a caldo: un’attività sempre molto amata!
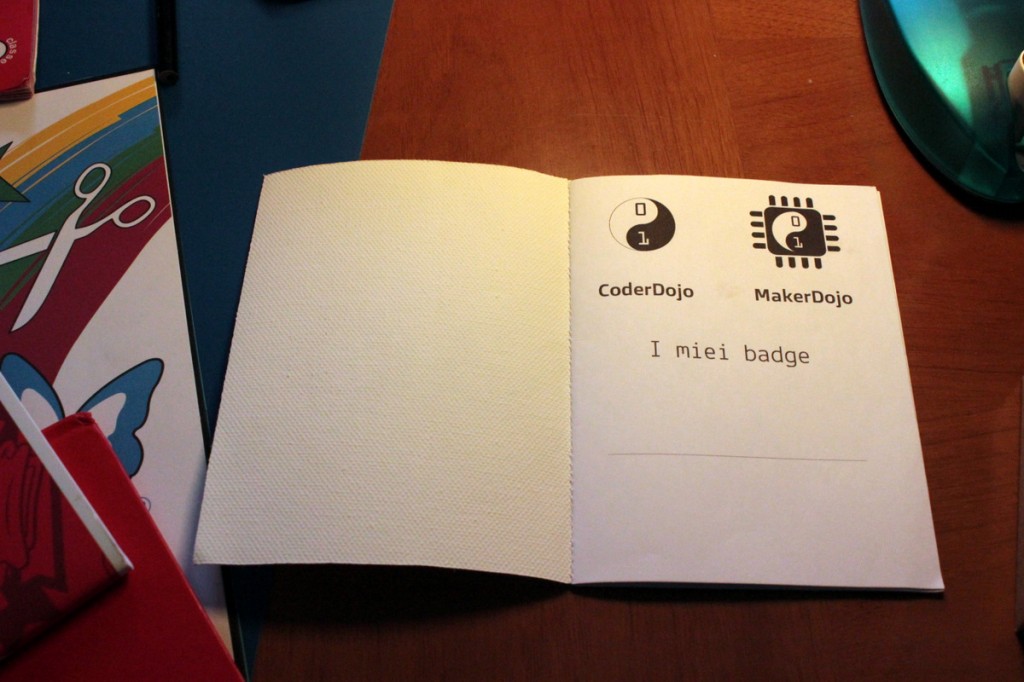
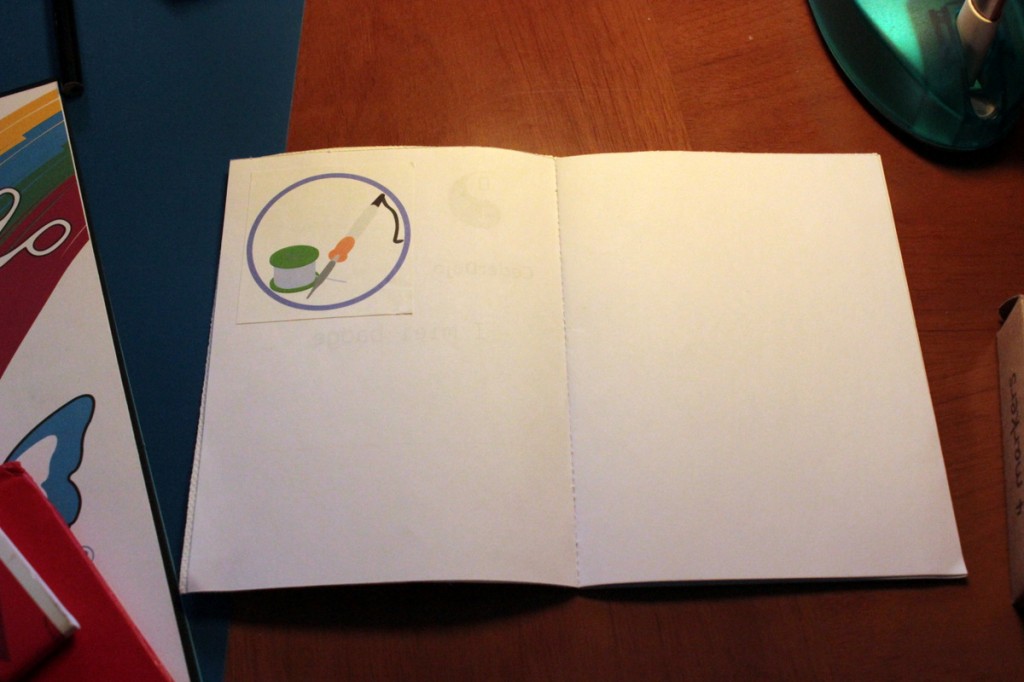
Ogni partecipante ha inoltre ricevuto un libretto su cui attaccare i badge che verranno distribuiti nei vari incontri.
it consists of two LEDs, a switch and a 3V battery, with a special battery holder mounted on a matrix board.
All of the kids completed their own circuit and then applied a shape cut from polystyrene on it to give life to the two bright eyes. The kids cut the polystyrene using hot wire: they always love this activity!
Each participant also received a booklet for collecting the badges that will be distributed at the various meetings.
Il prossimo evento sarà un CoderDojo e si terrà il 22 Febbraio.
Se volete rimanere informati sulle nostre attività inviate la vostra email all’indirizzo hacklabterni@gmail.com e vi inseriremo nella newsletter.
Le foto della giornata:
Some photos of the event:
